I’ve been through this before. I was trying out the new Bluestacks 3N when this error shows up. I tried everything from disabling Hyper-V to uninstalling all other VM programs, but nothing worked. If you’re using Windows 10, and you have no desire of playing a game with only 5 FPS, chances are that this solution could work for you.
So how do we do this??!!
The reason behind this strange error is due to Bluestacks falsely claiming that ‘Hyper-V is enabled’, when it actually means ‘Another hypervisor is running!’.
The solution on this page may not be favorable for the guys out there who’s extra sensitive to security, as it includes disabling some powerful security features that come with Windows 10.
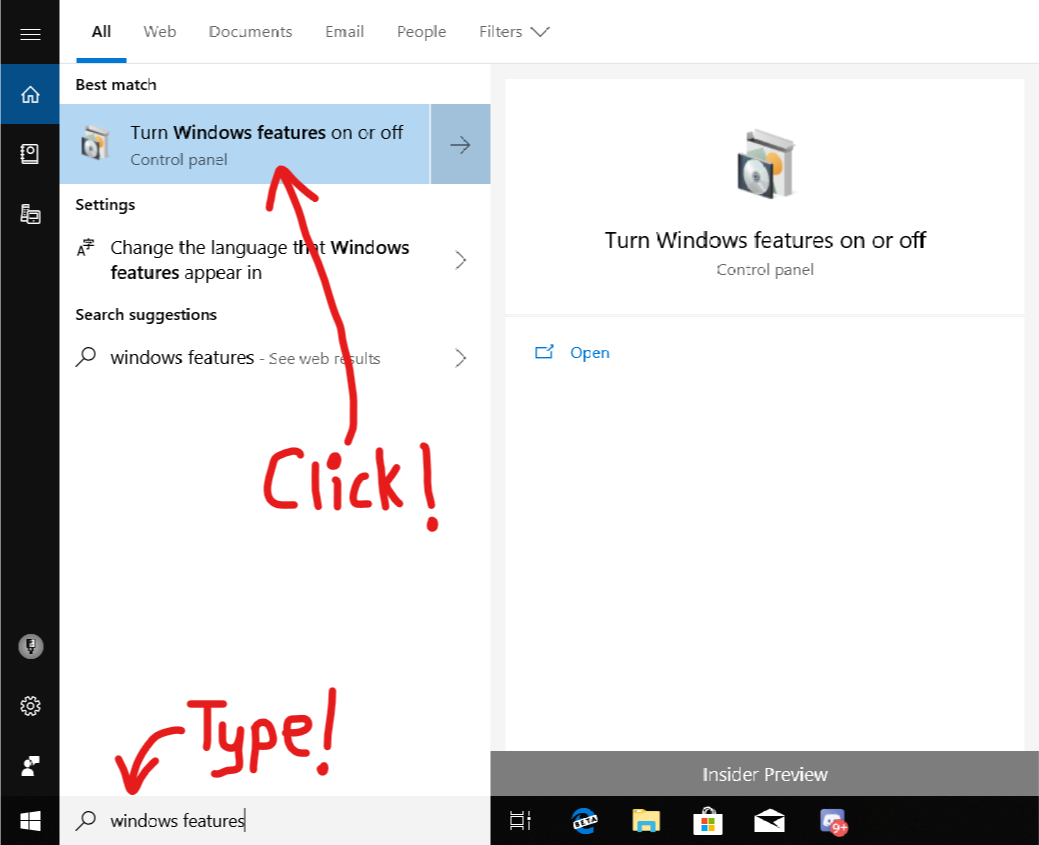
1. Start by opening Windows Features
You can do this by searching for it on Cortana:
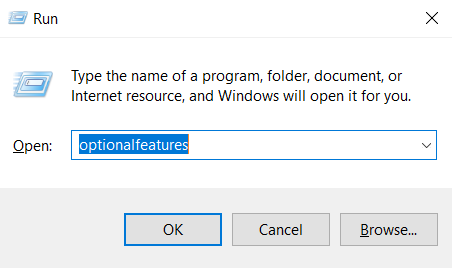
OR you can type ‘optionalfeatures‘ in Run.
2. Disable these features
Uncheck these boxes:
- Guarded Host
- Hyper-V (duh)
- Windows Defender Application Guard
- Containers.
Fortunately, you do not need to disable Windows Subsystem for Linux (WSL), because Microsoft did some magic there so that it doesn’t use virtualization.
Don’t worry if some of the features are not there yet. This probably means that either the feature got removed from Windows due to an update, or you’re using an older version of Windows. On the bright side, it saves you the trouble of disabling them.
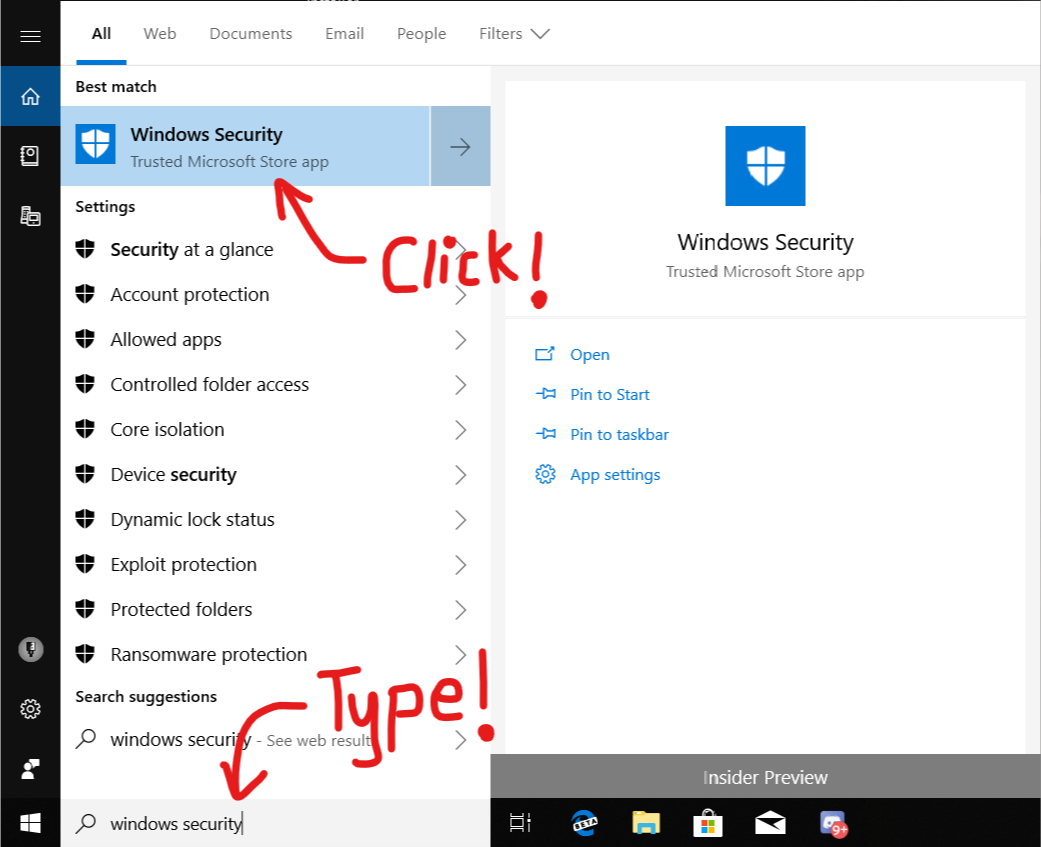
3. Open Windows Security
It might also be called ‘Windows Defender Security Center’ in older versions of Windows, or might not even be there as a universal app. If the app’s not there for you, this means that you’re using a really old version of Windows, and the problem’s probably fixed by now since you disabled all those features in the previous step. However, if you have a newer version of Windows, you have yet one more thing to disable.
You can open Windows Security by searching either ‘Windows Security‘ or ‘Windows Defender Security Center‘ in Cortana (yes, I know Cortana’s a legend).
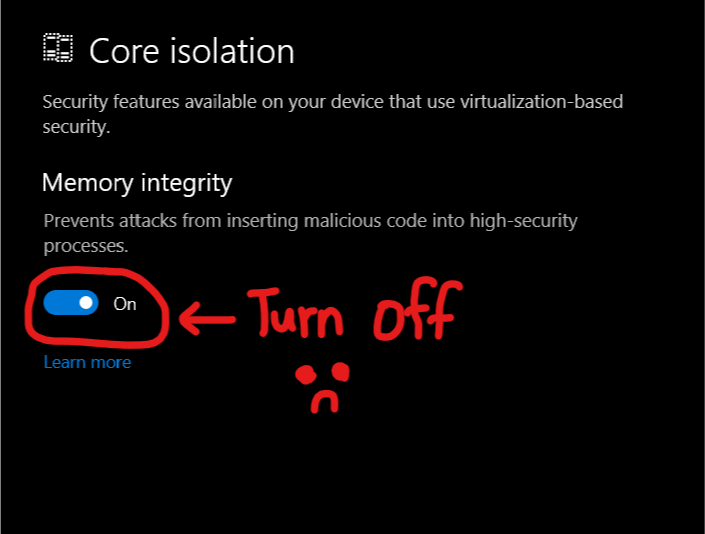
4. Device Security > Core isolation details
Go to the Device Security tab and click on the hyperlink that says ‘Core isolation details’.

5. If Memory Integrity is turned on, turn it off
As much as I like Memory Integrity, it needs to be turned off if you want to play Android games on your PC.